I wrote up a full guide on this project, which you can find here
I’ve recently gotten into the mechanical keyboard community, and am very interested in designing and building my own keyboards. I’m not going to get into the reasons why someone might want a mechanical keyboard, and the benefits of them, but I am very happy with how my first project turned out.
I recently picked up a mechanical keyboard for work after using one at home for years. I decided to go for Brown switches due to their low noise yet they still have the tactile feedback I’ve grown to expect with my Blues that I use at home.
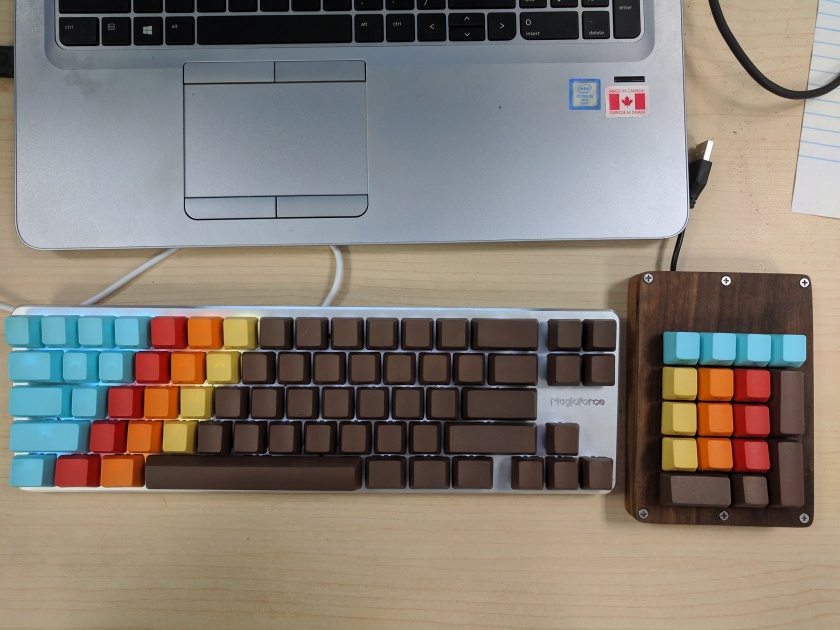
So, I selected a small, cheap mechanical keyboard that won’t take up all my desk space and also won’t irritate all of my coworkers. So far, I have been quite pleased with it.
Qisan Gaming Keyboard Mechanical Wired Keyboard
You might notice that there is no numpad or function keys! The function keys I can live without (they are actually mapped to the number keys when I press the fn key, so I have access to them) but I learned that I actually use the numpad quite a bit doing certain kinds of work.
I also had just picked up some 1976 Keycaps, since I really enjoyed the look of them.
1976 Keycaps For MX Switches Mechanical Keyboard
So, I had these keycaps, but I didn’t have a numpad to put them on. You can see where this is going…
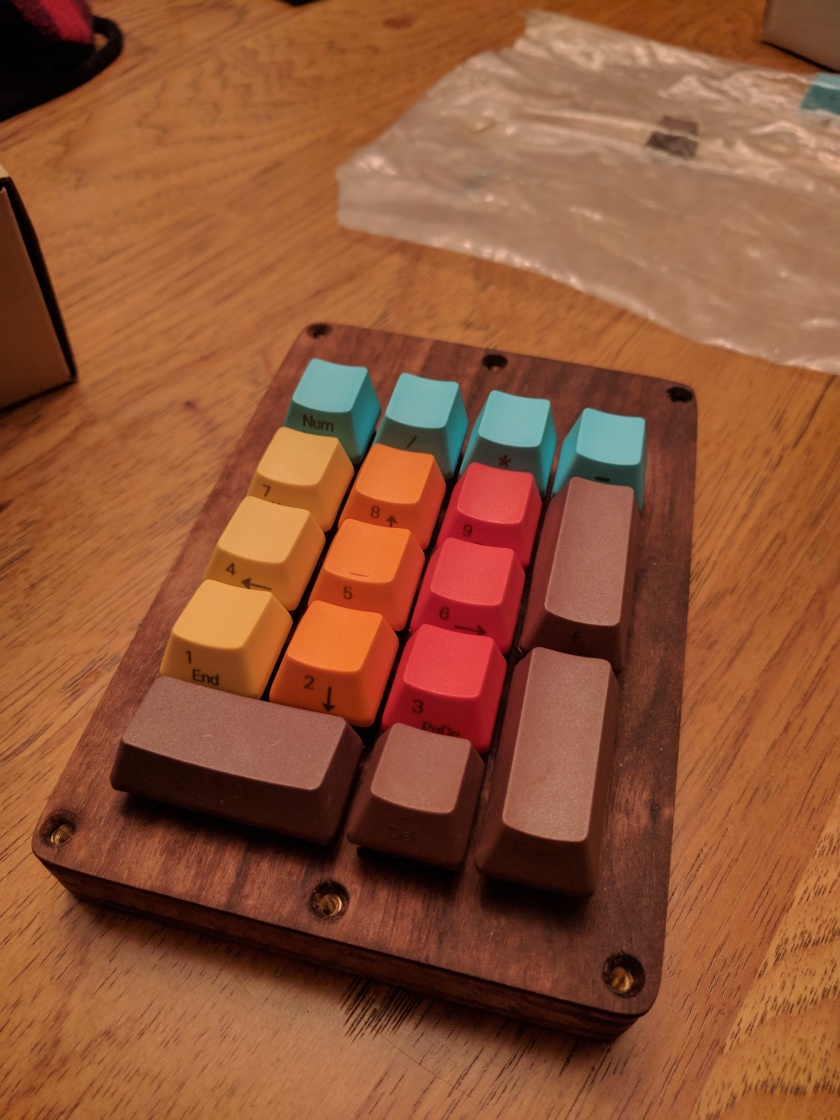
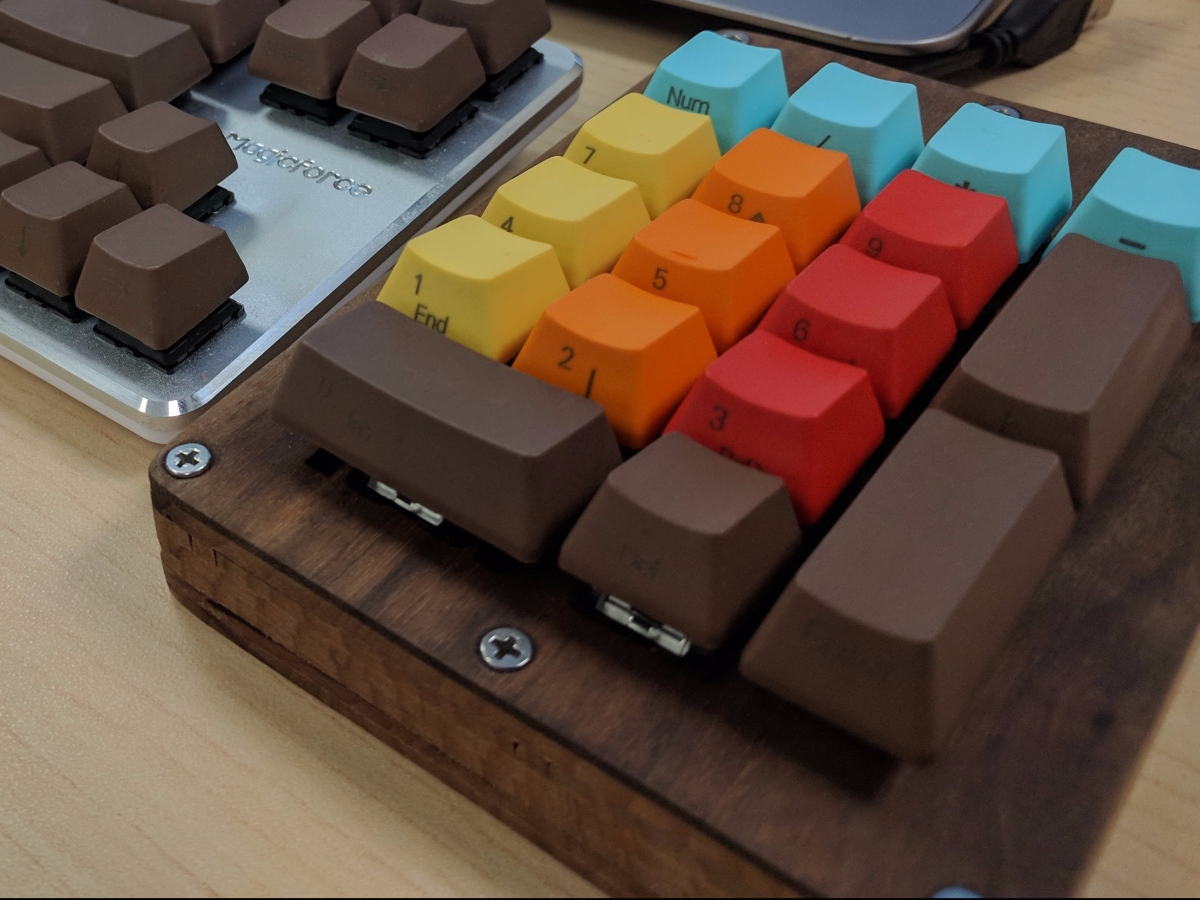
So, I built my own numpad. It’s made out of lasercut hardwood (Walnut for the faceplate) and uses Brown switches. I did all of the woodworking and finishing myself, and also wired up and programmed the electronics.
The keycaps look great with the dark walnut faceplate, and the wooden look gives everything a really cool feel. I’m very happy with how it turned out. Now, all I need to do is make a hardwood case for the magicforce…
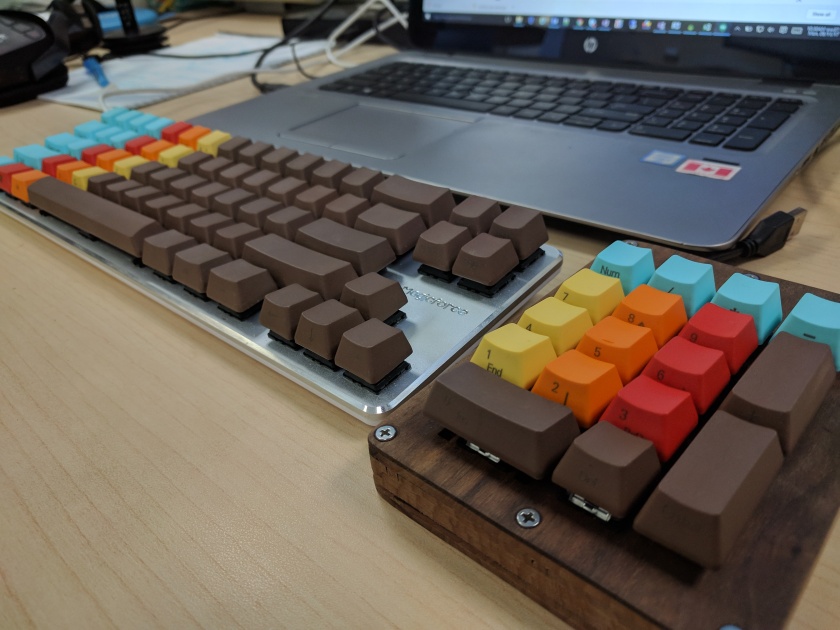
As you can see, the metal look doesn’t match quite as well as the wooden look. Perhaps in the future I’ll make a new case for the rest of the keyboard.
I also plan on creating a step-by-step guide on how I designed and built the numpad so that anyone else interested in joining my DIY Mechanical Keyboard adventure can follow along easily. I haven’t been entirely pleased with the resources I found online, so I think having a single resource that goes into full detail on everything will really help people out.
Either way, this definitely isn’t my last keyboard build. I would love to eventually sell these (hah!) but I have a lot of practice and refinement before I can do that. I’ve learned quite a lot about woodworking and CAD design that I hope to use to improve my next project!
Until then, I’ll be quite pleased with my current work and looking ahead to what I can build next!